
7 Tips On Cutting Fabric Perfectly For Your Dressmaking Project
7 Essential Tips for Cutting Fabric Like a Pro in Your Next Sewing Project

Sewing your own clothes can be a rewarding and creative experience, but one of the most frustrating parts of the process is cutting the fabric. Whether you’re a beginner or an experienced sewer, uneven edges, frayed fabric, and inaccurate cuts can ruin your project. Luckily, there are simple steps you can take to ensure perfect cuts every time.
In this guide, we’ll share 7 essential fabric cutting tips that will help you achieve professional-level results with your next sewing project.
- Set Up the Right Cutting Surface
The key to clean, precise fabric cuts starts with a proper cutting surface. A stable, flat surface prevents fabric from shifting or warping, giving you more control.
- Use a Large Cutting Mat: A self-healing cutting mat is essential for rotary cutters and helps protect both your fabric and the underlying surface. It’s especially helpful when cutting straight lines and provides a grid to align your fabric.
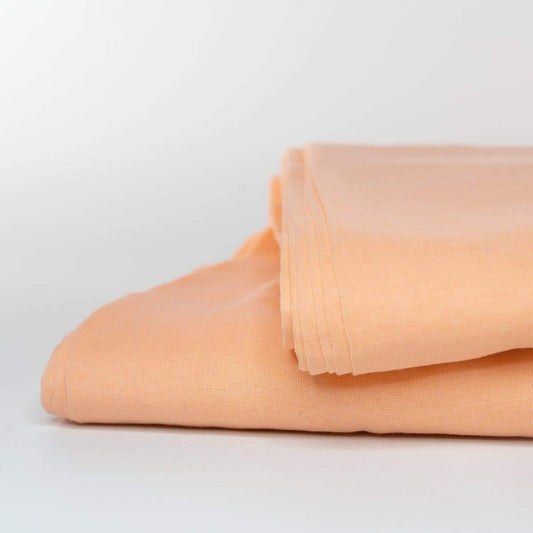
- Consider Your Fabric Type: Different fabrics require different surfaces. For heavier fabrics like wool, use a firmer surface, while for lighter fabrics like cotton or silk, a smooth, non-slip surface will prevent shifting.
- Avoid Using a Sewing Table for Cutting: Traditional sewing tables can damage your fabric and cutting tools. Always use a dedicated cutting mat to protect both your materials and your workspace.

- Iron Your Fabric Before Cutting
Before you start cutting your fabric, ironing it is an essential step that’s often overlooked. Wrinkles can distort your fabric, leading to inaccurate cuts and an uneven finish.
- Press, Don't Iron: When ironing your fabric, be gentle. Press down the iron instead of dragging it across the fabric to avoid stretching or damaging delicate fibres.
- Ensure Fabric is Smooth: Iron both sides of your fabric to ensure it’s smooth and free of creases. For fabrics with patterns or prints, iron in the same direction as you plan to cut to keep the design aligned.
- Use a Rotary Cutter for Clean, Accurate Cuts
A rotary cutter is one of the best tools for making clean, even cuts through multiple layers of fabric. This tool is especially effective when cutting straight lines and curves.
- Sharp Blade is Key: A sharp rotary blade is essential for achieving smooth, clean cuts. Dull blades can cause fabric to pull or stretch, resulting in jagged edges.
- Change Cutting Direction: Fabrics like cotton and linen can fray when cut in a single direction. To avoid this, change your cutting direction with each pass to ensure clean edges.
- Safety First: Always cut with caution. The rotary cutter's blade is extremely sharp, so use a protective mat and keep your fingers out of the cutting path.
- Cut Straight Lines with a Ruler
Straight cuts are the foundation of many sewing projects. Whether you're cutting for seams, hems, or pattern pieces, using a ruler can help you achieve perfectly straight lines.
- Use a Transparent Ruler: A clear ruler lets you see through the fabric and align your cuts with precision. Make sure the ruler is flat against the fabric to avoid any shifts during the cut.
- Mark the Cutting Line: Before you start cutting, use a fabric pencil or chalk to mark a clear cutting line. This will help you stay on track and avoid errors.
- Leave a ¼-inch Seam Allowance: When cutting fabric for seams, always cut ¼ inch (6mm) away from your marked line to account for seam allowances and prevent cutting into the seam itself.

- Cutting Curves with Precision
Cutting curves can be tricky, but with the right tools and technique, it’s totally achievable. Whether you're cutting a neckline, sleeve cap, or hem, precision is key.
- Use a Flexible Ruler for Curves: A flexible ruler is great for following curves accurately. Gently press it down along the curve and make small cuts in sections to keep everything controlled.
- Take Your Time: Cutting curves takes patience. Avoid rushing, and make sure each cut is smooth and follows the curve precisely.
- Dry Hands for Better Control: Moist or sweaty hands can cause friction and fabric distortion. Make sure your hands are dry and clean to avoid pulling or stretching the fabric.
- Cut Multiple Layers at Once
Cutting out several pieces at once can save time, but it’s important to cut carefully to avoid errors. Here’s how you can cut multiple layers of fabric efficiently.
- Use Fabric Shears or a Rotary Cutter: Both fabric shears and a rotary cutter are great tools for cutting multiple layers of fabric at once. Fabric shears are ideal for thicker fabrics, while rotary cutters work well for lighter materials.
- Align Layers Properly: When cutting multiple layers, make sure they’re aligned evenly before starting. Pin the layers in place or use weights to keep them from shifting as you cut.
- Cut in Small Sections: If you're cutting thick or slippery fabric, it's often best to work in small sections to maintain control and ensure precision.
- Stitch Temporary Seams to Align Pieces
Once you’ve cut your fabric, the next step is ensuring the pieces align correctly before you start sewing. Basting is a technique that can help with this.
- Baste Along the Seams: Use a temporary, long stitch to baste the edges of your fabric pieces together before you sew them permanently. This will prevent shifting during the sewing process.
- Trim Excess Fabric: After basting, trim away any excess fabric from the seams to create a cleaner finish. This will help eliminate bulk and allow your garment to fit more smoothly.
- Check for Alignment: After basting, double-check that all pieces are aligned properly. Adjust as needed before you begin the final stitching.
Conclusion
Cutting fabric may seem like a simple task, but mastering it can make a huge difference in the quality of your sewing projects. By following these 7 essential fabric cutting tips, you’ll be able to achieve clean, accurate cuts, which will make your sewing process faster, more enjoyable, and less frustrating.
Remember to set up the right cutting surface, iron your fabric before cutting, and use the proper tools—like a rotary cutter, ruler, and fabric shears—to ensure a professional finish. And don't forget, patience is key when working with curves and cutting multiple layers at once!
With these tips in hand, you’ll be ready to tackle your next sewing project with confidence. Happy sewing!